(Kind of like the one in my picture book, The Museum of Everything.)

What you will need:
A box, paint/paintbrushes/water/a rag, black paper, scissors, a needle and thread, and some tape.
Optional: fake grass, rocks, or anything else you decide to put in your box.
- Find your box. My box is about 3″ x 5″, 1-1/2″ deep. Your box can be any size, but if it’s very small, it will be hard to cut tiny enough birds.
- Paint the insides of it: sky colors on the top, back and sides, and ground colors on the bottom, with maybe some hills going up from the ground. My sky color is blue, but what if it was a sunset sky? Or a cloudy sky? It’s up to you!

3. While the paint is drying, cut out some tiny birds. Fold a piece of paper in half. Look at the photo on top to guess about how big they should be. Mine are cut out of black paper: blackbirds! But you can make them any color or kind of birds. Here’s how:
4. Thread a needle. It works best if your thread is the same color as your sky. The thread should be long enough so that it has a nice droop when you hold the needle end and the knotted end at the top of your box.(Again: see top photo.)Then thread your birds. Put the needle into the inside of the fold from above, and come back up through from below. Be careful! Needles are sharp! In this video, you can not only see me thread my birds, you can hear me say “ouch” and watch my thread get tangled.
5. Tape the ends of the thread to the top of your box. Cut the thread from the needle. Ta-da!
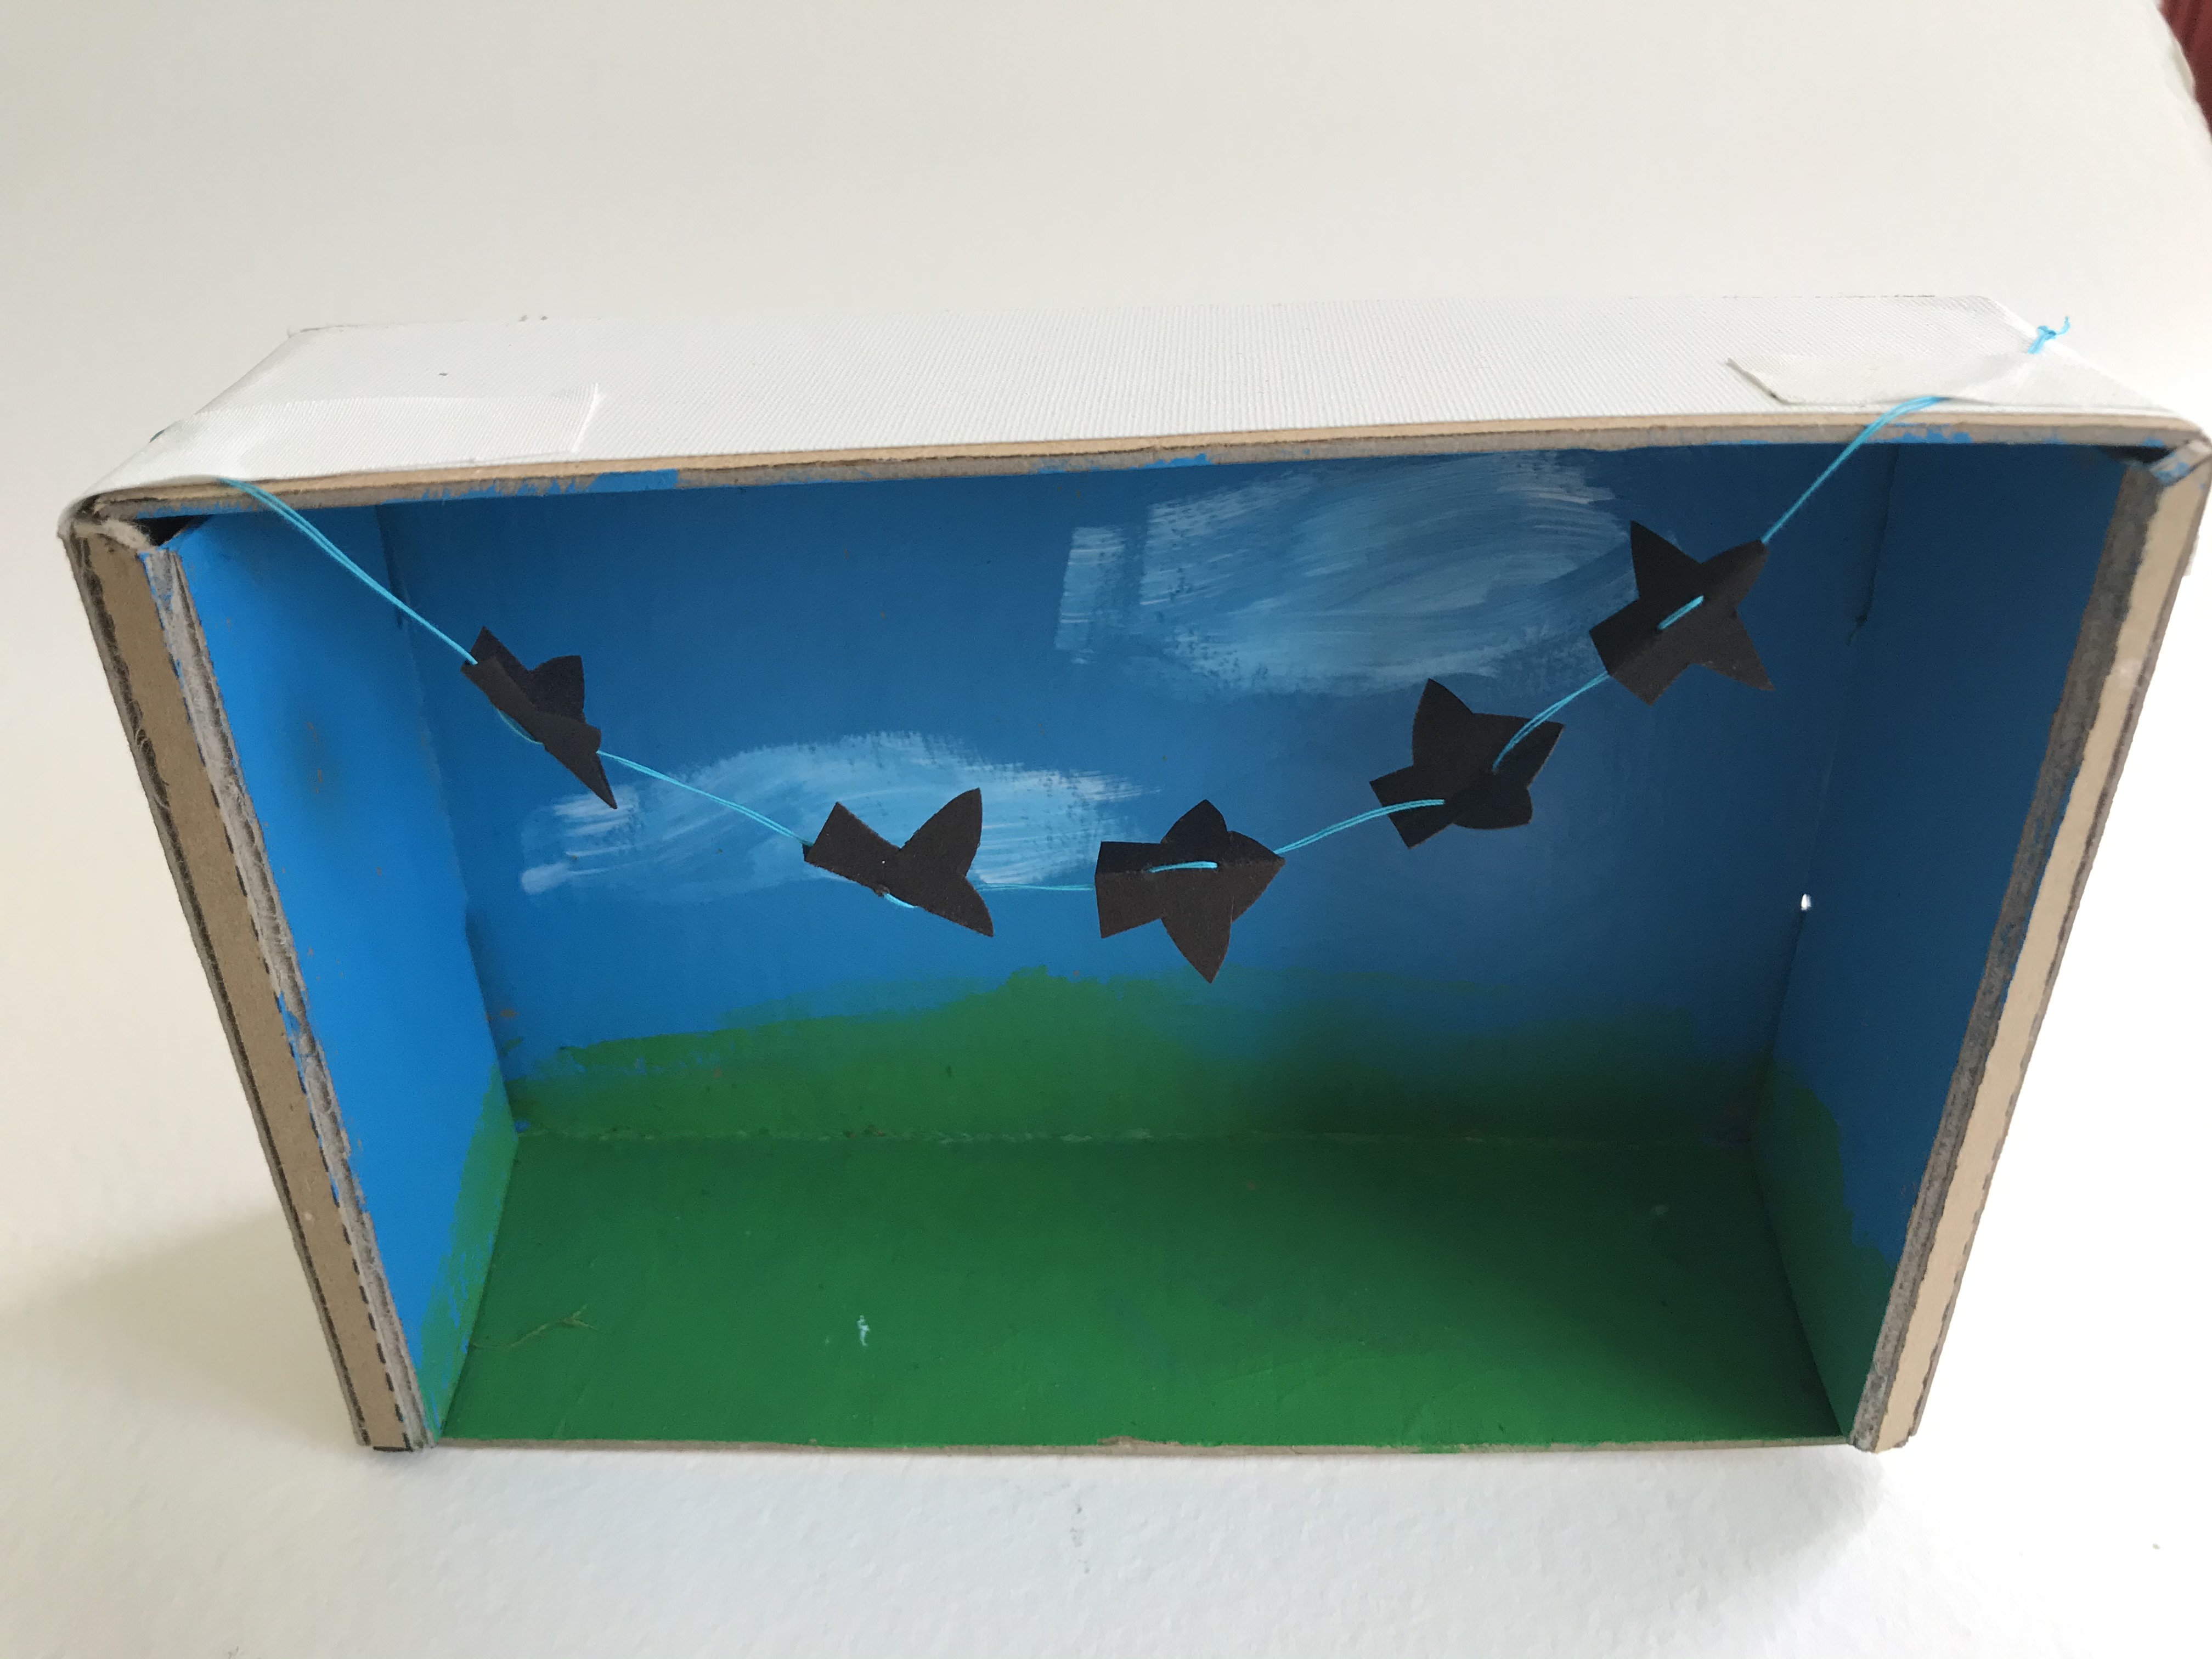
The above picture shows the tape. The one below is a better view:

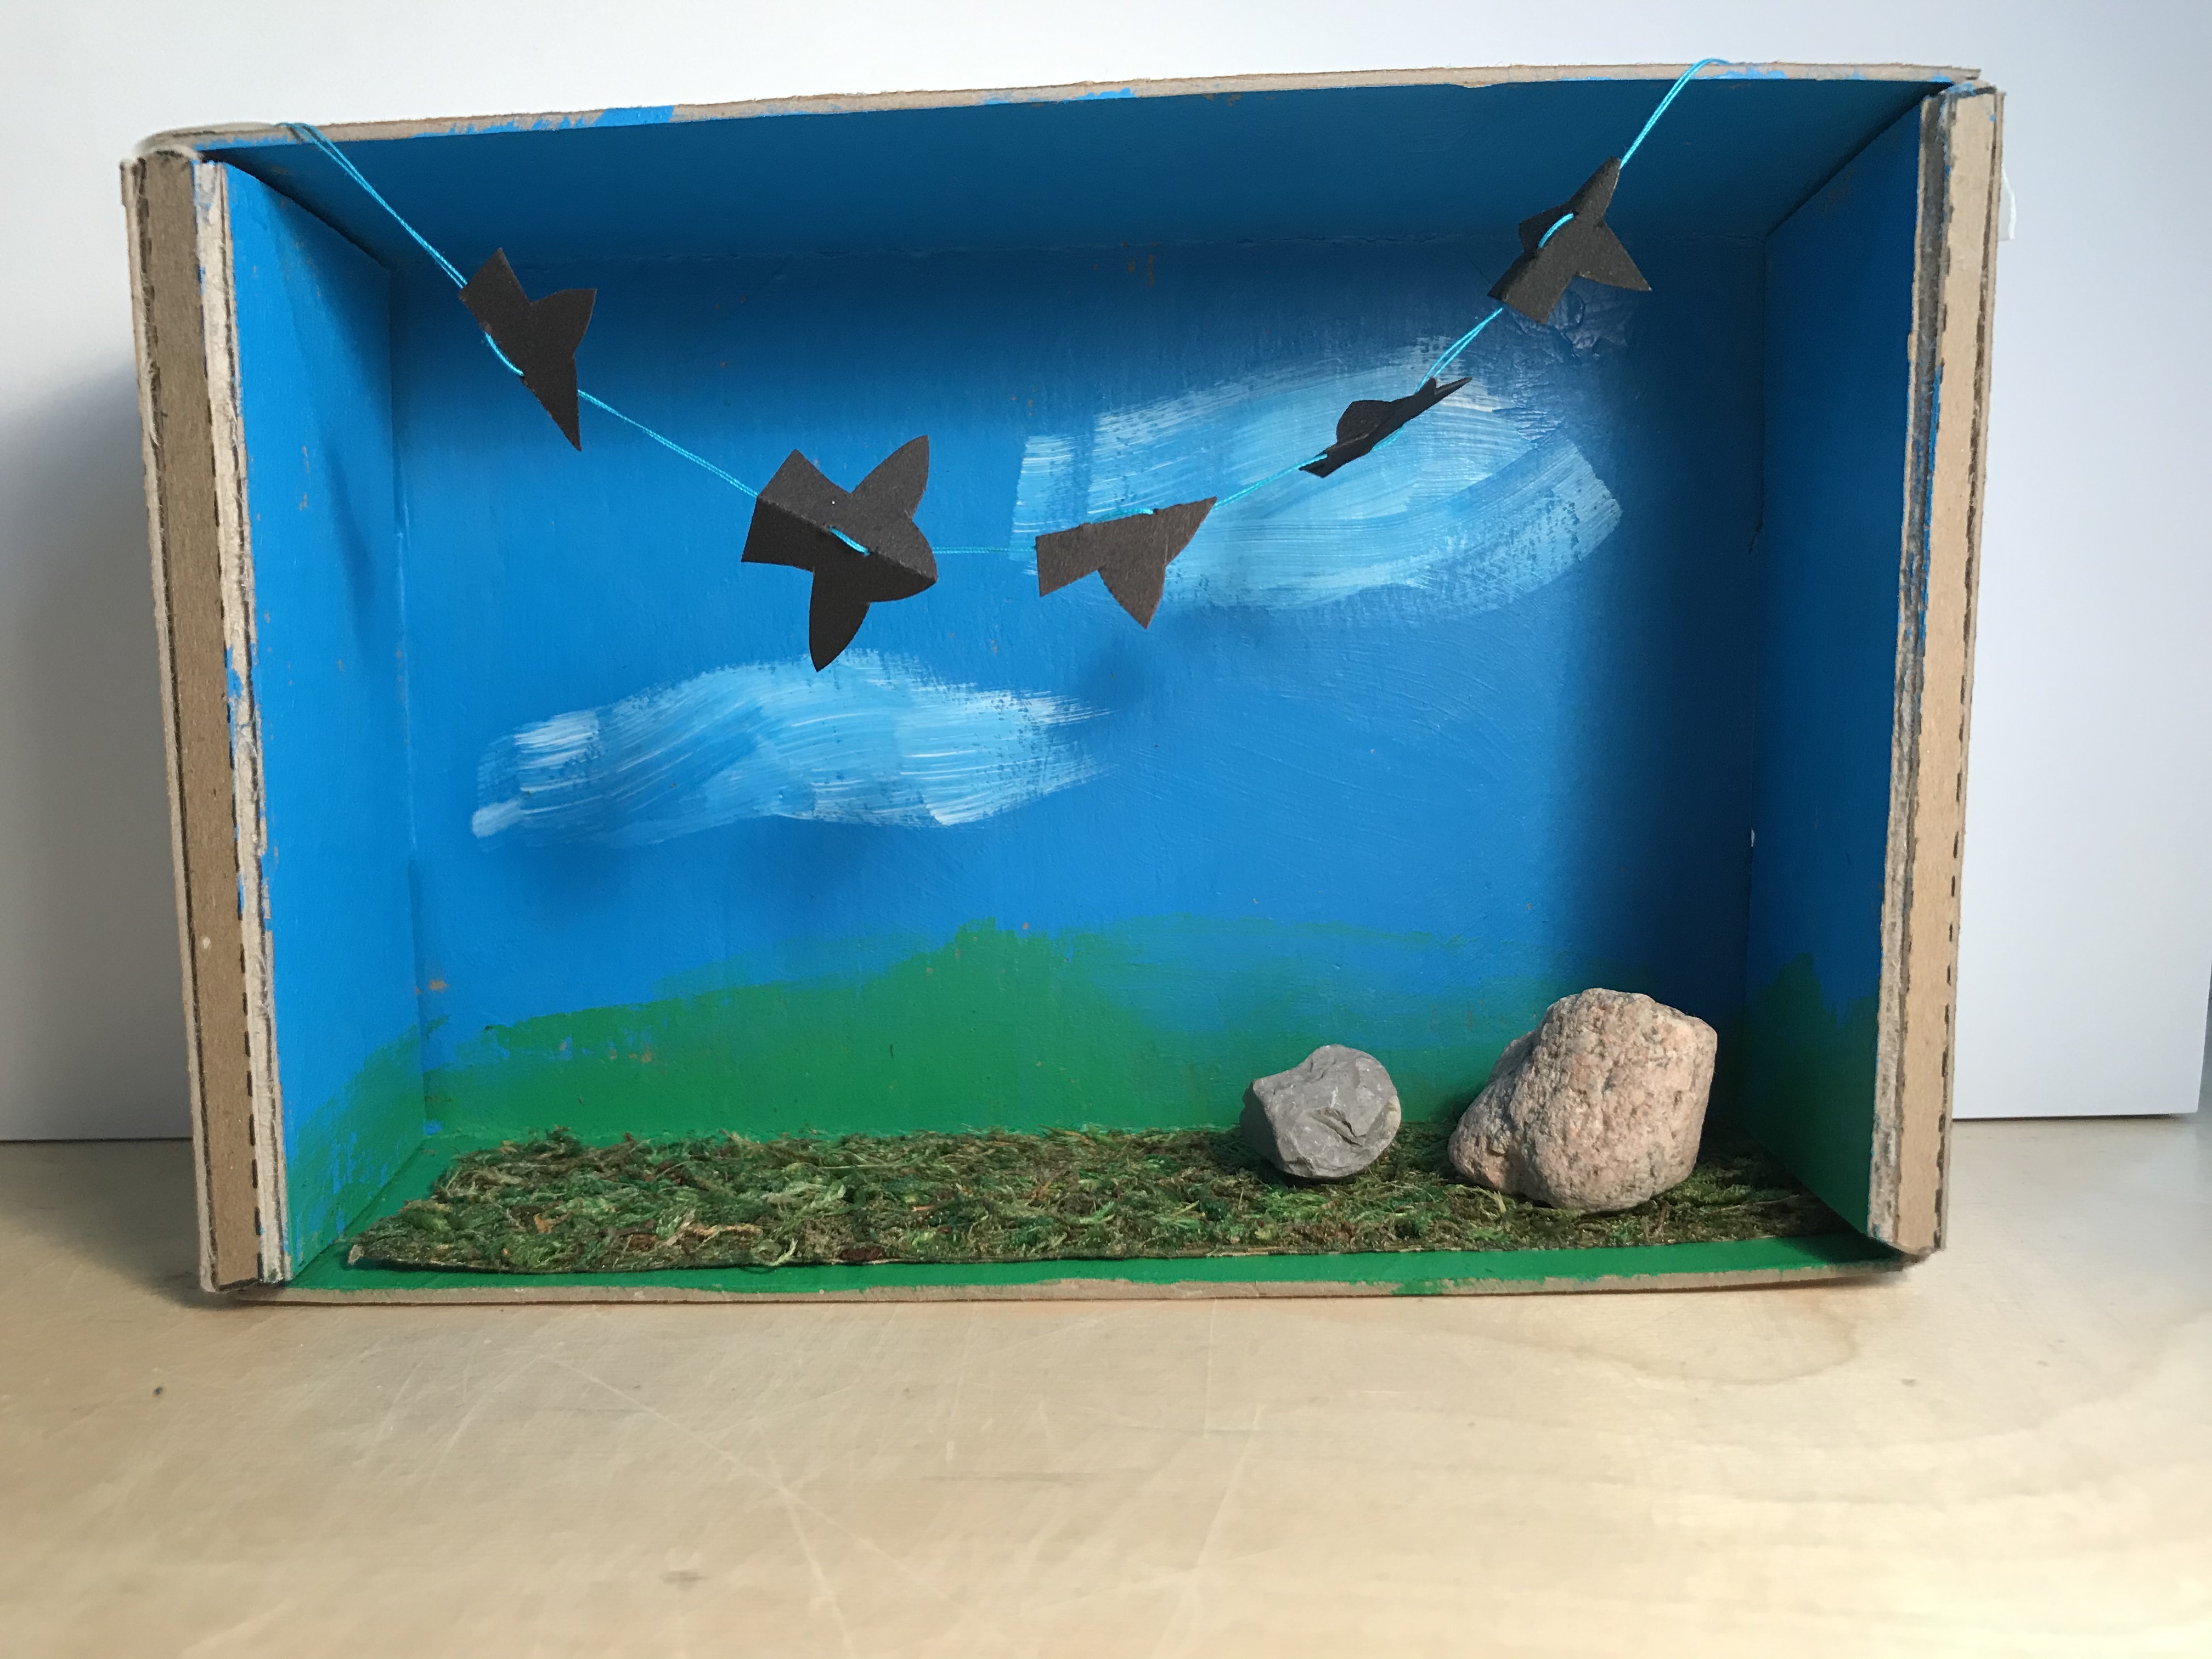
Bonus: If you know someone who makes model railroad stuff, maybe they will let you cut a piece of fake grass to put in the bottom of your diorama. (Also available at craft stores.) You can put some small rocks in the bottom, and they will look like boulders. Who knows what else you could put in there?!
Now you have a happy little place that you can visit in your mind.
Tagged: the museum of everything
